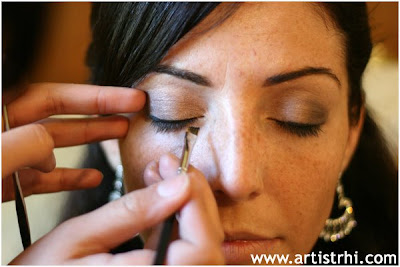
Generally, the most universally flattering shape for eyeliner application is a line that gradually increases in thickness from the inner corner of the eye to the outer edge. A good reference point for the outer edge is usually where your eyelashes stop. For an everyday, look you don’t want to take eyeliner out too much further than that, unless your intent is to look dramatic!
The line should also be drawn right atop the lash line AND into the lashes – absolutely no gaps allowed between the drawn line and your lashes! Pressing the eyeliner into your eyelashes also enhances the lash line, helping your eyelashes to appear fuller. The final result should bring your eye ‘forward’ and make the eyes appear larger.
Where to stop drawing the line?
 Usually it’s best to stop the line at the outer corner where the lash line ends. I like to extend the line slightly and draw it slightly upwards to achieve an eye-opening look. Extending the line beyond the natural lash line also helps with eyes that are set closer together. This method helps to create the illusion of pulling close-set eyes apart, bringing them in balance with the rest of your features.
 Having trouble?
If you’re having trouble applying eyeliner, use pencil and start by drawing short strokes (see bottom photo. Use a connect-the-stroke like method to create a smooth flowing line.
To help with an unsteady hand, try to rest your elbow atop the counter/table of where you’re getting ready, or you can try resting your hand on your cheek as you apply the eyeliner. These methods helps to give a shaky hand a steady surface to balance upon in order to draw on a smooth line. And remember, you can always clean up untidy edges with a q-tip. In the end, practice makes perfect so even if you don’t master the technique initially, keep on trying and soon enough you’ll be an eyelining make-up master!


